Monoprice Maker Select Plus 3D Printer, Unboxing and Setup

Finally had some free time to open and start setting up the Maker Select Plus.  I’ve included some photos of the unboxing, and made a couple notes on the assembly and setup.

The package arrived in good condition after being shipped by UPS Ground.  The box is 19″ by 19.5″ and 11″ tall, and though I didn’t weigh it the shipping label indicates the package weighed 30 pounds.

Opening up the box revealed some internal packaging. Though you would have no way of knowing it at this point, the user’s manual somewhere inside recommends removing this from the box.

Contents include the heat bed with a test print of a butterfly attached.

Tower frame and base side by side.  The base measures about 10.5″ by 16″.

Found a couple small defects, but nothing insurmountable. Here one of the X-Axis rods slid out of one end, but seemed to go back in without damage.

When I first took it out of the packing I noticed a loud rattling in the base, and soon discovered that one of the knurled nuts was missing from the heat bed.  I had to remove the base in order to reach it, seen here at the bottom left of the base near the hex tool.

That did give me the chance to look under the hood at least.

Here it is assembled, and next time I’ll be powering it up and doing calibration.

Brief History of Early Quadcopters

Quadcopters vertical take off and landing (VTOL) rotorcraft, consisting of two clockwise and two counterclockwise propellers. The thrust and torque of each rotor can be varied by adjusting their speeds, and can be used to generate a desired total thrust vector and total torque. While these days quadcopters have become ubiquitous, not many are aware of the history of this configuration.

Some early examples include the Breguet-Richet Gyroplane was first flown tethered in 1907, the Oehmichen No.2 from the 1920s which could remain airborne for minutes in stable controlled flight, and the de Bothezat helicopter that first flew in 1922 for the US Air Service but was found to be overly complex, difficult to control, and underpowered. Each of these aircraft were piloted and sized likewise for the era, the maximum dimension from rotor tip to rotor tip ranging from 15-20 meters.

The concept would be revived by Convertawings with the Model A in 1956, with control obtained by differential thrust between the rotors via collective pitch of each rotor, avoiding the need to cyclic control and the complexity it would have brought. Curtiss-Wright, the successor company to the Wright brothers’ original firm, built and flew the VZ-7 in response to the Army Transportation Corps requirement for a light VTOL utility vehicle, a “flying jeep” type role. The VZ-7 quadrotor was much more compact than its predecessors at about 5 meters long and wide, was several times more powerful with its 425 hp Turbomeca Artouste IIB turboshaft engine, and also utilized differential thrust with collective pitch for control. The US Military ultimately moved away from compact multi-rotor aircraft in favor helicopters around that time. It took a couple decades before improvements in materials, power sources, motors, and microcontrollers would lead to wider adoption of the quadcopter configuration, though it would be in the form of small-scale remotely controlled or autonomous drones.

References:

Wikipedia: Quadcopter

Aviastar: Oemichen

Aviastar: Convertawings Model A

Aviastar: Curtiss Wright VZ-7

Wizarding World of Harry Potter and the Interactive Wand, How it Works

If you’ve ever been to the Wizarding World of Harry Potter at one of the Universal Studios theme parks in Orlando, Hollywood, or Japan, you’ve likely seen people with magic wands conjuring spells at various stations marked with medallions in the walkway. With the flick of the wrist in the correct pattern at the right place, you can do thinks like activate a window display or make water fall from an umbrella onto passersby. These interactive wands are designed to look like the characters’ wands in the films, and cost $50 from the onsite Ollivanders and Gregorovitch’s shops or from Universal’s online store.

Getting behind the “magic” a bit, this all works as Universal devised a clever method of tracking wand gestures by using fixed infrared (IR) cameras as the sensors, IR emitters as the light source that may be co-located with the camera or near the conjurer, and retro-reflective material in the tips of the interactive wands, plus a bit of image processing to track the tip and determine the spell, and mechanism controls to trigger an event. From Universal’s patent, the interactive wands utilize a retro-reflective tip that readily reflects the IR light back to its source or desired sensor, and can be a small piece of material attached to the end of the wand like a dark colored bead or even just a special paint or coating of retro-reflective material that doesn’t stand out to the naked eye.

Normally these wands don’t have much use outside of the Universal park, but I’ve included some links below that show how people have managed to use them with homemade wand recognition equipment.

References:

System and method for tracking a passive wand and actuating an effect based on a detected wand path

How do the Harry Potter interactive wands at Universal Studios in Orlando work?

Everything you Need to Know about Interactive Wands at the Wizarding World of Harry Potter

I Bought A $US47 Interactive Harry Potter Wand And It Was Totally Worth It

Wizarding Wands

Harry Potter Spell

3D Printing: Glass-Transition Temperature

Glass transition is a reversible transition in amorphous materials from a hard and brittle “glassy” state into a viscous or rubbery state as temperature is increased. The temperature that this occurs at is referred to as the glass-transition temperature, Tg. The Tg is always lower than the melting temperature, Tm, at which point the material changes state from a solid to liquid form.

This applies to polymers, including those used in 3D printing, and is useful to know and understand the Tg-Tm temperature ranges for managing the printing process as the solid filament is melted in the extruder before leaving the nozzle and cooling into a workable viscous state. I’ve typically seen the print temperatures set to just above the Tm, and print bed temperatures just below Tg, and I will need to see how well that works out in practice. It is additionally important to be aware of the Tg when considering functional uses and storage of printed objects, for example PLA has a relatively low Tg that makes it unsuitable for hot cars or use in cooking since it can start to lose its shape and structural integrity.

Here are some example Tg-Tm ranges, which may vary depending on the specifics of the material formulations: PLA with Tg 60–65 °C and Tm 180–220 °C, ABS with Tg ~105 °C and Tm taken effectively as ~230 °C (the Vicat softening temperature, the softening point for materials without a definite melting point), and TPU (thermoplastic polyurethanes, elastic at room temperature) with Tg -53 – -28 °C and Tm (Vicat) 88–147 °C.

References:

Glass Transition

Modeling the Glass Transition of ABS in a 3D Printer

Thermoplastic Polyurethane (TPU) Typical Properties Generic TPU Alloy

VR Display Technology: Foveated Rendering

Foveated rendering is an optimization technique for virtual reality (VR) headsets that utilizes eye tracking and the fact that peripheral vision senses less detail than the center of vision, the fovea centralis of the eye. Overall improved graphical performance can be achieved by reducing the rendering workload with decreased image quality and complexity outside of the observed center of the stereo images, and is essentially undetectable by a viewer.

The an example that combines foveated imaging, eye tracking, and augmented reality headsets was presented in a paper, Perceptually-Based Foveated Virtual Reality, that was published by NVIDIA Research in 2016. One measured performance improvement was the reduction of pixel shading performance by 2-3x. The FOVE startup sought to include foveated rendering in their headset and described benefits such as increased center detail, higher frame rates and rendering speed.

As a happy owner of the HTC Vive VR headset I can still identify several areas for improvement that might be helped via foveated rendering such as low perceived detail due to display resolution, refresh rate, and graphics quality level that is the result of limitations in current display technology and pixel density, available data throughput from GPU to headset via DisplayPort and HDMI standards, and available processing power on the computer itself. I’m looking forward to the next generation of VR headsets when foveated rendering can be made available in conjunction with those other processing and display improvements.

References:

Perceptually-Based Foveated Virtual Reality

Foveated 3D Graphics

FOVE Series A Investment

3D Printing: Wood Filament

One of the materials now available in 3D printing is wood filament, designed to mimic the look and features of natural wood. It is a composite material that typically is mainly polymer (60-70%) and containing a lesser amount of wood fiber (30-40%). Most of the available options seem to use PLA as the main binding polymer, but with a variety options available for wood fiber to produce different properties and qualities. Wood fiber types seen in use include basics like pinewood, bamboo, cork, coconut fiber, and purportedly higher quality woods such as oak, mahogany, and ebony.

Due to wood’s nature, filaments containing wood fibers can be very sensitive to temperature, and can be made to become darker by increasing the extruding temperature. If scripted, the effect could be embraced to add a visible layering feature that can appear much like the grain in natural wood, and may be enhanced with wood stains. Additionally unlike pure PLA prints, wood filament prints are more easily sanded.

To avoid clogs, a 0.4mm or larger nozzle is recommended, some have reported that 0.5-0.6mm nozzles have been more reliable for avoiding this. Wood filaments are reported to work better at higher layer heights, and while it is recommended to avoid keeping the material heated to long in the extruder it is also important not to increase the too high or it may not reach the needed temperature for a successful print – 50-60mm/s (and up to 80 mm/s) is the print speed range I’ve seen used.

References:

Wood Filament Review

How to print with woodFill filament

eco3D Wood

Shades of brown with wood filament, via varying temperature

3D Printing Wood and Sweet Finishing Techniques

Woodworking with a 3D Printer – PrimaSelect WOOD review


Features of Mount Kilimanjaro

In preparation for my ascent next month, I thought I’d take a quick review of Mount Kilimanjaro, the highest mountain in Africa. Kilimanjaro is a dormant stratovolcano located in northeastern Tanzania, near the border with Kenya, and is 3°S from the equator. It consists of three volcanic cones: Kibo, Mawenzi, and Shira, and the highest summit at 19,341 ft (5895 m) above sea level is Uhuru Peak on Kibo’s crater rim.

The temperature at the summit averages 19 °F (−7 °C), and daytime temperatures on the Northern Ice Field, on the west slope of the peak, averages 25 °F (−4 °C). Snowfall in the summit area can happen year-round, but is most likely during the two rainy seasons in March-May and November-December. The snow line on Kilimanjaro is located above 18,000 ft (5500 m).

As of the late 1880s, the Kibo summit and caldera area was completely covered by an ice cap with outlet glaciers on the western and southern slopes. A shift in climate around this time that decreased specific humidity reduced accumulation has led to the rapid retreat of the glaciers. Over 85% of the ice cover has disappeared from 1912 to present day, and 40% of the ice present in 2000 has been lost. Likely all of the ice will disappear in 20-40 years.

I’m planning on additional posts on Mount Kilimanjaro as I continue preparing for my trip to cover details about the climb.

References:

Mount Kilimanjaro

Exploring DeepStyle Artistic Image Generation

Deep Learning is a class of machine learning algorithms based on learning data representations, for feature extraction and transformation of raw data for utilization in desired tasks. One version, known as Deep Dream, was based on a technique that utilized artificial neural networks (ANN) for image classification originally trained by providing it with a large number of training images and adjusted until desired classifications were returned. The ANN typically consisted of 1-30 stacked layers of artificial neurons, each taking an input from the previous layer and providing an output to the next until a result was reached in the final output layer. A method was devised to look at what happened at each layer by reversing the process, taking an initial randomized or unrelated image and processing it to more closely match a classification provided as an input. By iterating this, the features in the output image are amplified, and often pulling certain patterns derived from classification image libraries. If the algorithm were trained on a large set of images of dogs, the resulting processed images would end up as an abstraction where many of the original major features now patterned into the shape of dog heads.

With the release of Google’s Deep Dream code in 2015, others had to opportunity to make variations so that the image processing was much like a style filter. One of the more interesting implementations is DeepStyle, which can process one image to match the style of a different given image or images. If they were images of paintings by an artist with a distinct style, such as Vincent van Gogh’s post-impressionist bold and expressive brushstrokes, then the resulting output would look match that style as if the artist had painted it himself.

This is a first look at the method and I will take a deeper look into the underlying algorithms in the future as I attempt to implement DeepStyle for myself.

References:

Inceptionism: Going Deeper into Neural Networks

A Neural Algorithm of Artistic Style

First Look at 3D Printing Filaments

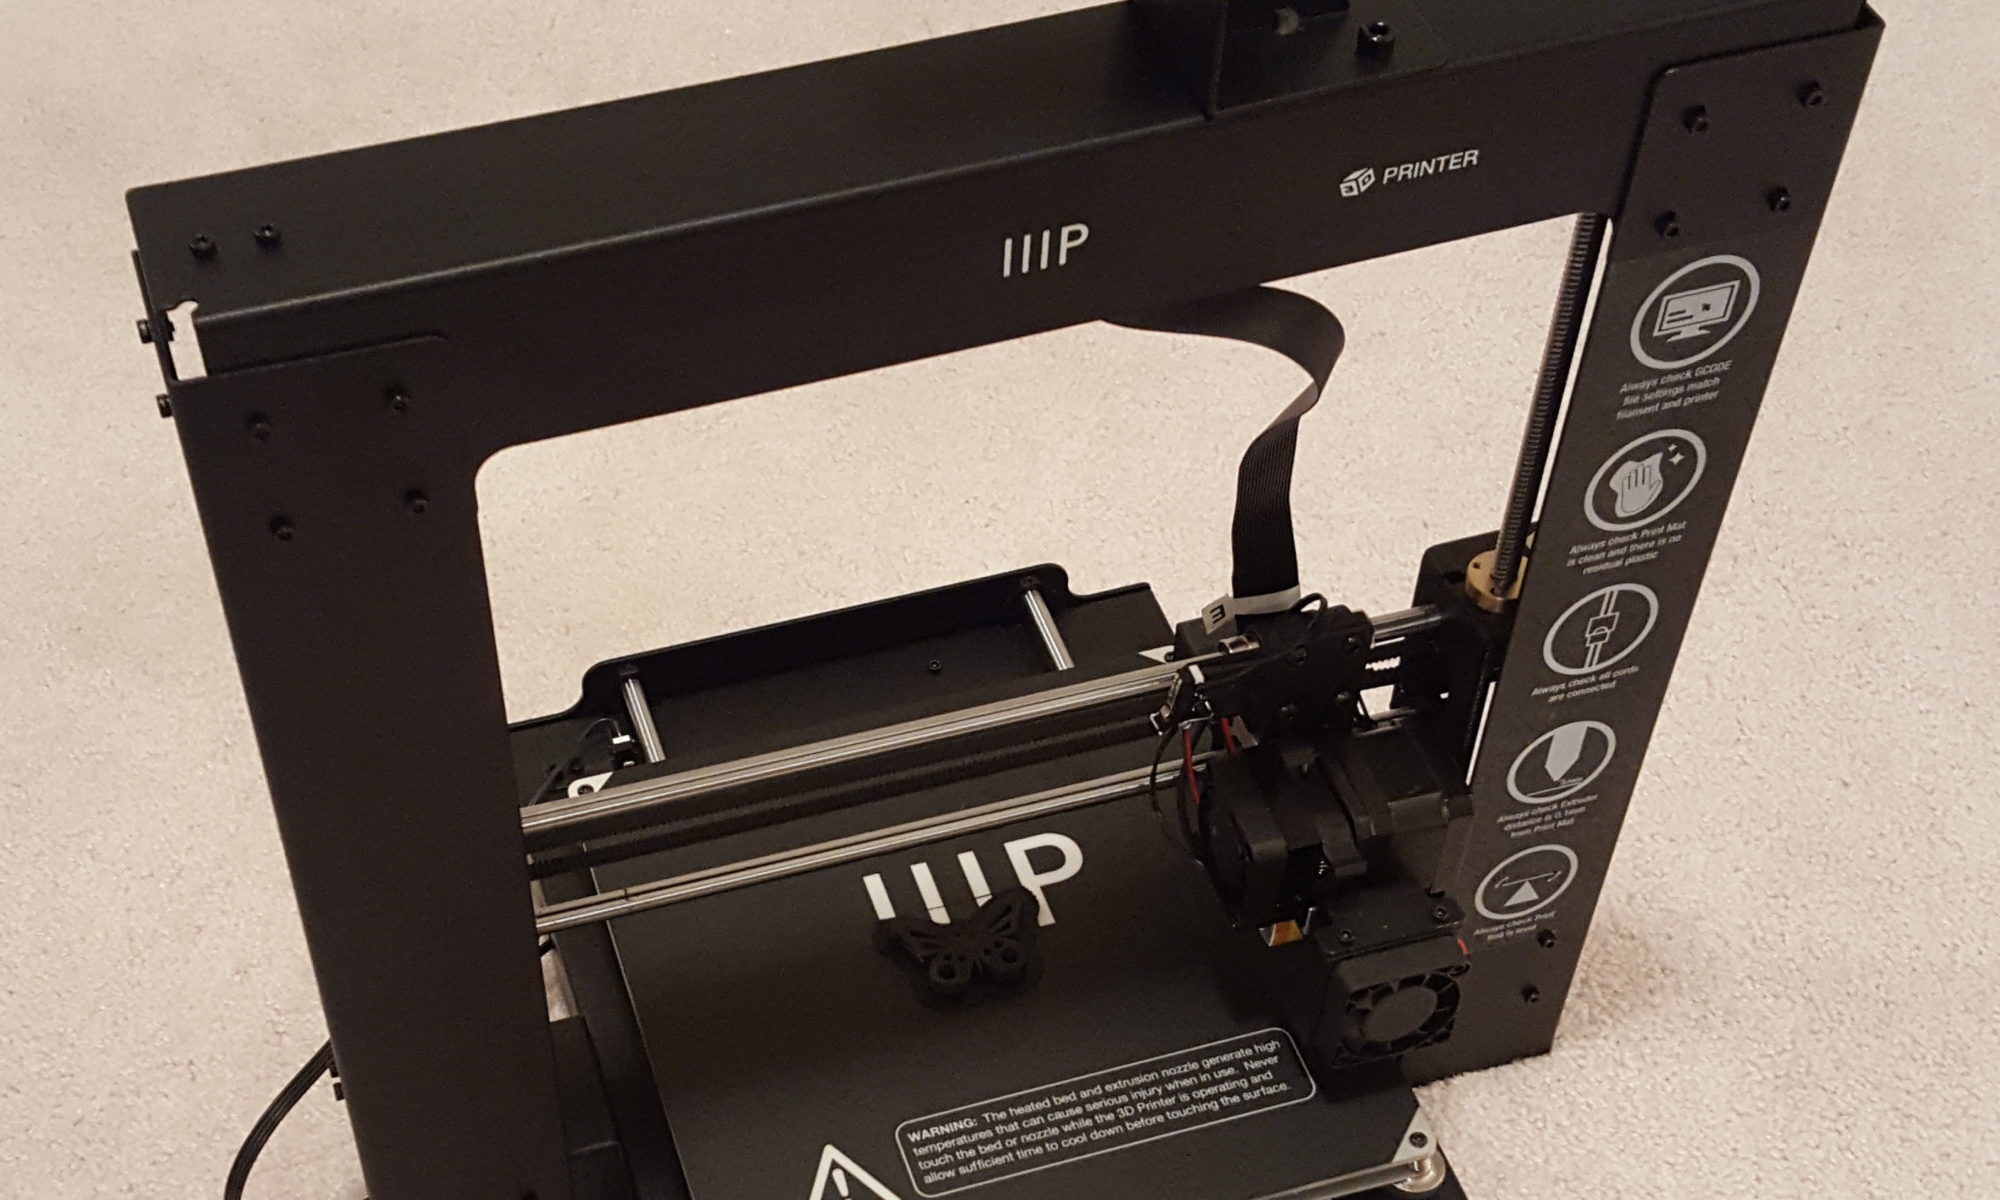
Well now that I’m waiting for the 3D printer I’ve bought to arrive (which ended up being the MP Maker Select Plus, after I discovered a $100 discount code to bring the price down to $300), I thought I’d start looking at the available filament options. From the ordering website, the potential types available for use include the common options of PLA and ABS, as well as some others I’m less familiar with including XT, Copolyester, PET, TPU, TPC, FPE, PVA, HIPS, Jelly, Foam, and Felty. So what are these, and how do they compare? Well here’s what I’ve found so far.

PLA, polylactic acid, is a thermoplastic that is biodegradable and derived from renewable resources, with corn starch being a common starting material. PLA is normally extruded around 160°C-220°C, doesn’t require a heated printbed but benefits from a 60°C temperature, remains soft around 50°C, and is fairly slow to cool where it becomes tough but somewhat brittle. It can be sanded and painted, but is difficult to glue. It is described as an easy material to work with when starting out, and has a pleasant smell when heated.

ABS, acrylonitrile butadiene styrene, is a petroleum-based thermoplastic. ABS requires hotter temperatures when printing, around 210°C-250°C, and requires a heated printbed to prevent warping of the print. It can be easily sanded and glued, but can produce some mild but unpleasant fumes and benefits from printing in a ventilated area.

Here are some quick one liners of the other printing materials. XT is a variety of copolyster in the Amphora™ produced by the Eastman Chemical Company in conjunction with colorFabb with low odor and improved strength. Copolyester results from modifying polyesters by introducing certain diacids or diols, and includes the Amphora and XT lines. PET, polyethylene terephthalate, is a commonly used plastic, and the glycol modified PETG is described as more flexible and durable than PLA while being easier to print than ABS, but is absorbs moisture from the air and is sticky during printing. TPU, thermoplastic polyurethane, is elastic but slightly rigid with rubber-like qualities. TPC, thermoplastic copolyester, is another elastomer with more resistance to temperature and chemical exposure. FPE, flexible polyster, is a filament with a combination of rigid and soft polymers and is comparable but softer and more flexible than PLA. PVA, polyvinyl alcohol, is a water-soluble plastic used for providing a removable support structure to a print with overhangs. HIPS, high impact polystyrene, is a copolymer with good hardness and flexibility, and serves as a good support material as it can be easily removed with limonene. Jelly, foam, and felty filaments start out with two materials, one of which that is soluble and when removed leaves the remaining material with porous structures, which provide unique properties and textures to the finished product.

In the future, I’ll take a deeper look at some of the filaments I intend to use with my prints, including a few others I have yet to look into like wood, metal, carbon fiber, conductive, wax, and ceramic materials.

References:

Monoprice Maker Select Plus 3D Printer

What Material Should I Use For 3D Printing?

Amphora May Revolutionize 3D Printed Plastics

The Ultimate Filament Guide, 3D Printer Filament – 25 Best Types & Comparison Charts

Kai Parthy Gets Felty, Foamy and Porous with PORO-LAY Line of Filaments

Foamy, Felty, Porous & Coconut Wood?

Getting Started with 3D Printing

I’ve decided to finally make the plunge into 3D printing. It’s been something I’ve had an interest in for a while now, but what originally held me back was I considered to be a somewhat high cost for printers that produced unimpressive prints of questionable quality. However, there are now some interesting and affordable options available now that home 3D printing has matured.

After considering it for a while, I found a sensible option in the Monoprice Select Mini 3D Printer V2. Fully assembled (but likely needing some QC modifications, to be covered in the future), a build area of 120 x 120 x 120 mm (4.7” x 4.7” x 4.7”), a layer depth of 0.1mm, and a cost of $220 that fits within my budget makes it a good entry point into 3D printing.

The question of how I ultimately end up using it hasn’t been completely answered, but I expect to get some initial use out of it making some interesting table-top models and creative pieces. I’ll be making my order this week, and am looking forward to the learning experience.

References:

Monoprice: MP Select Mini 3D Printer

MP Select Mini/ProFab Mini/Malyan M200 Wiki